| Blog | Technical Writer | Technical Analyst | Business Analyst | Admin Support | Projects | Sample Documents | Home |
Part I – Unleash the Jellyfish!
To be clear, it took me a bit to do this.
First off, I’m not an expert in Linux. I used to manage a bunch of Linux servers (Solaris to be exact) when I worked for TELUS, but at heart my training has always been Microsoft and Windows which means I can set up a Windows server like it was second nature to me, Linux not as much.
Second off, I had two strokes in 2018. My Windows skills have not suffered but I was using them again literally the week after I got out of the hospital after the second stroke and had been working during the time between the first and second stroke building a database for a company.
To me that meant, I took this as a challenge. I got frustrated and put my first Auvik Collector up as a Windows box. The second time, I succeeded with my Ubuntu Server.
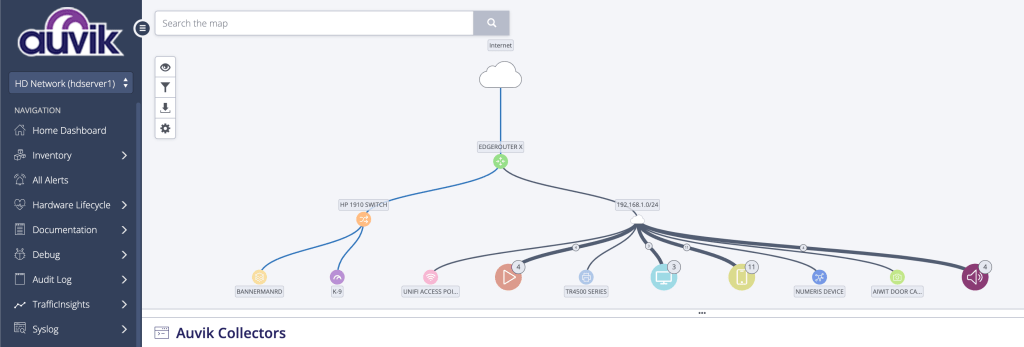
Let me tell you how I did it (and at the end of this, I’ll share some interesting things that having Auvik monitoring my network showed me about the networked equipment in my home).
Auvik is meant for commercial use. So most of the equipment it tracks is commercial networking equipment. Which is expected of most folk using or setting up Auvik – that it would be set up by a company to help administer their network and equipment. For me, it meant very little of my equipment is new. Exactly two pieces.
- Ubiquiti Edgerouter X
- Ubiquiti UniFi AP WiFI 6 Lite
Everything else is second hand. For my servers, because I had limited physical space and I have had good success with them I opted for a Lenovo Thinkcenter computer and since an Auvik Collector requires four threads, I specifically chose a Lenovo Thinkcenter M700; which has four cores.
So you know what the requirements for an Auvik Collector is:
- 4 CPU threads
- 8GB of memory
- 2GB of free space
My house, which is also my office, has zero ability to run cables (mostly because I don’t own it and am pretty sure our landlord wouldn’t like me running lines in the drop ceiling – even though that is the norm) so other than where my ‘server room’ is (my living room), all the other equipment is connected via WiFi; which could explain why I bought a decent AP.
The other major piece of my ‘server room’ is a commercial quality but second hand switch. Specifically a HP 1910 switch which was recommended by one of my Auvik compatriots. I scored this for $20 dollars CDN plus shipping of $25. Mostly because unlike my servers, I couldn’t find one locally.
That’s the basic equipment that comprise my Auvik build, though the only piece that the Collector really cares about is the Thinkcenter M700.
Now let’s start with explaining how to set up Ubuntu Server 22.04 on my Thinkcenter M700 so that it has all the software installed to support being a collector.
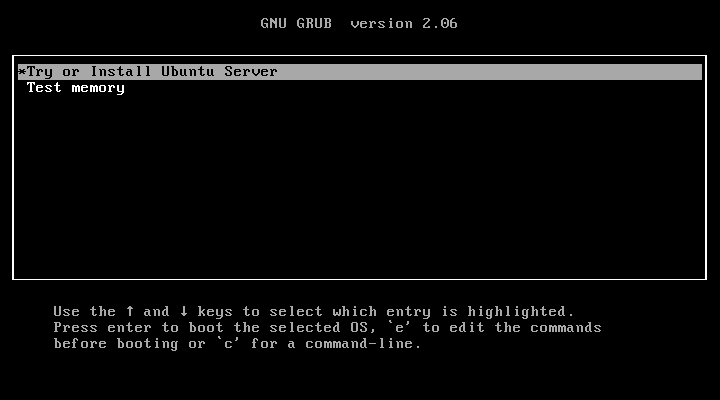
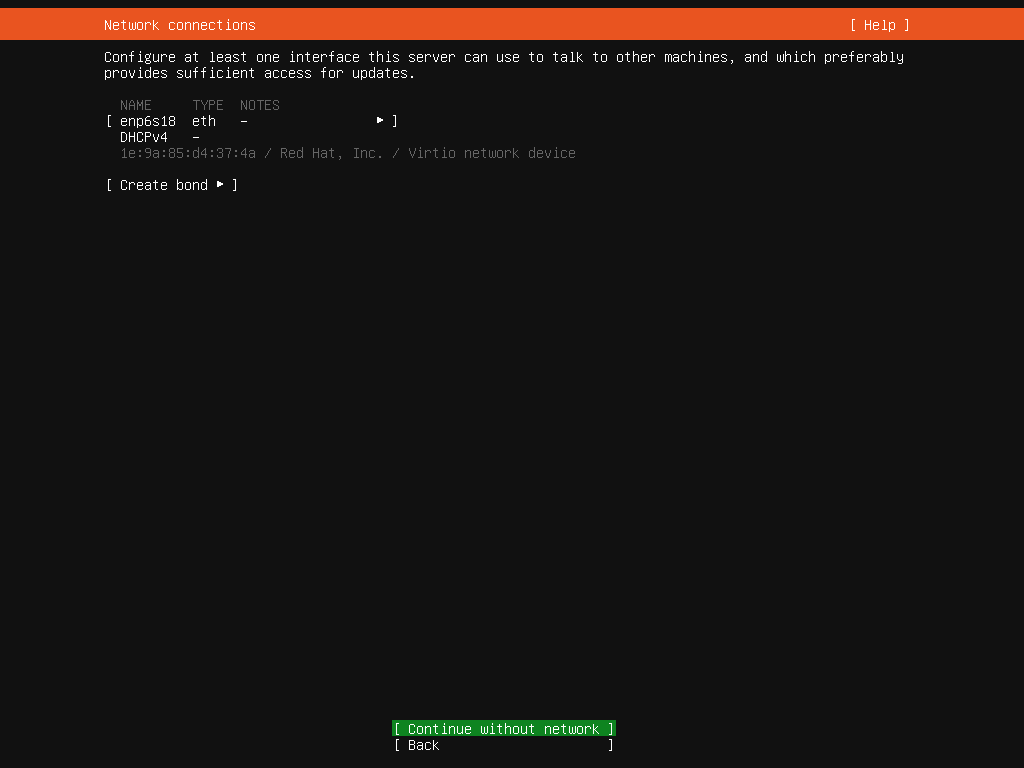
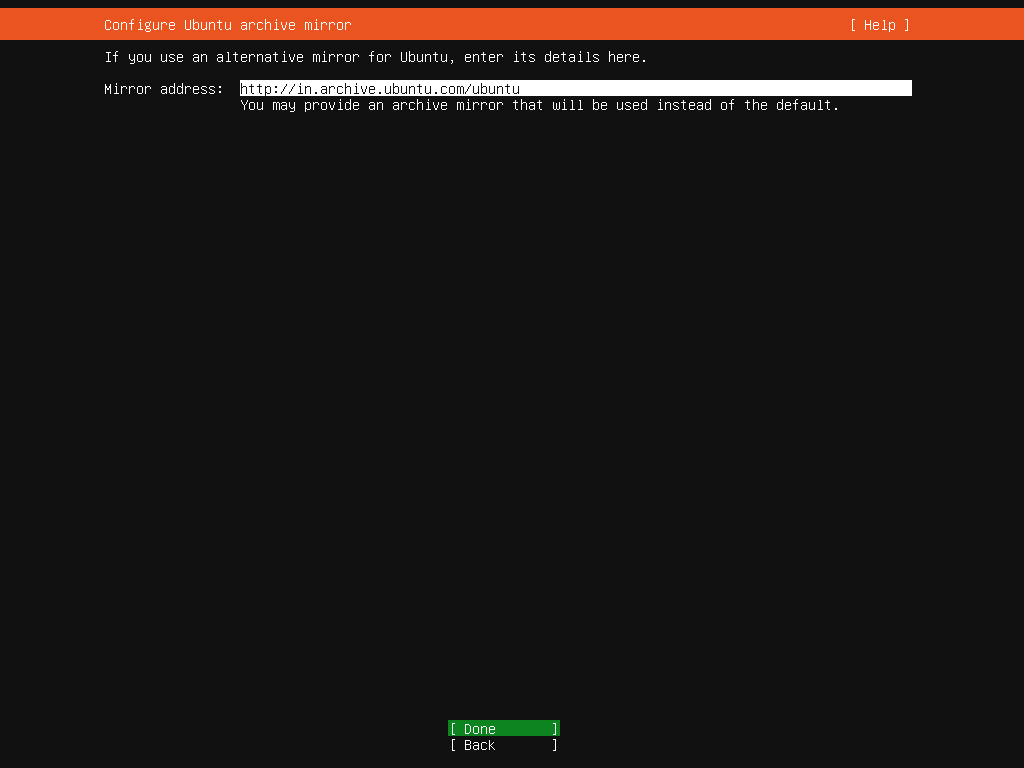
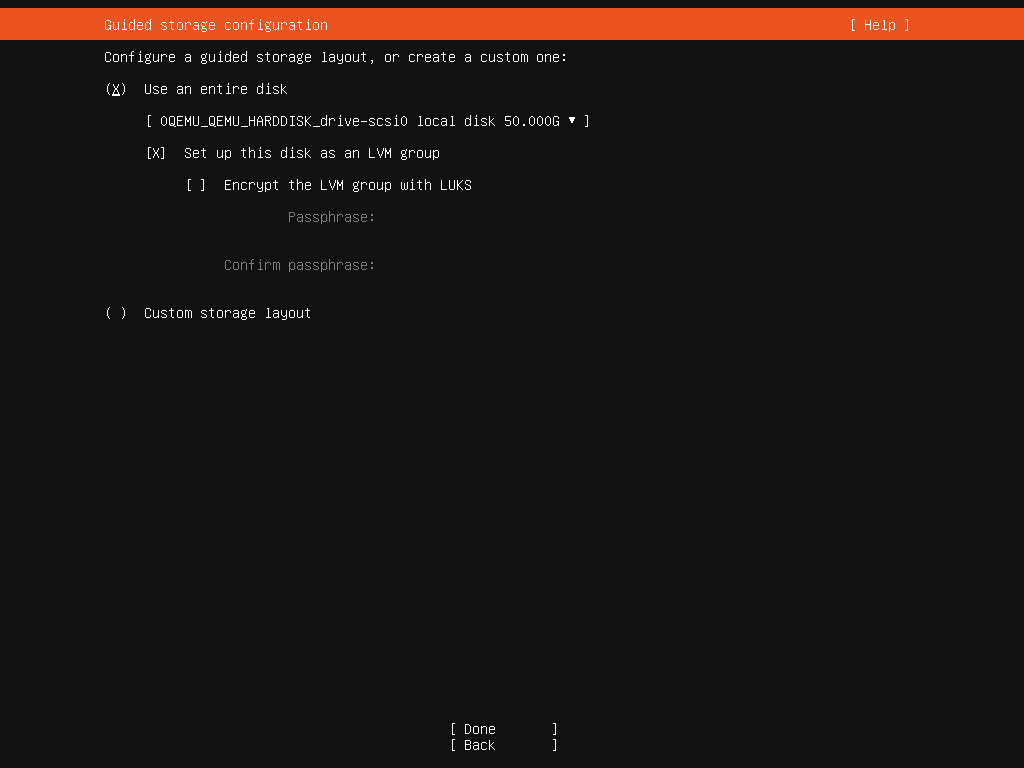
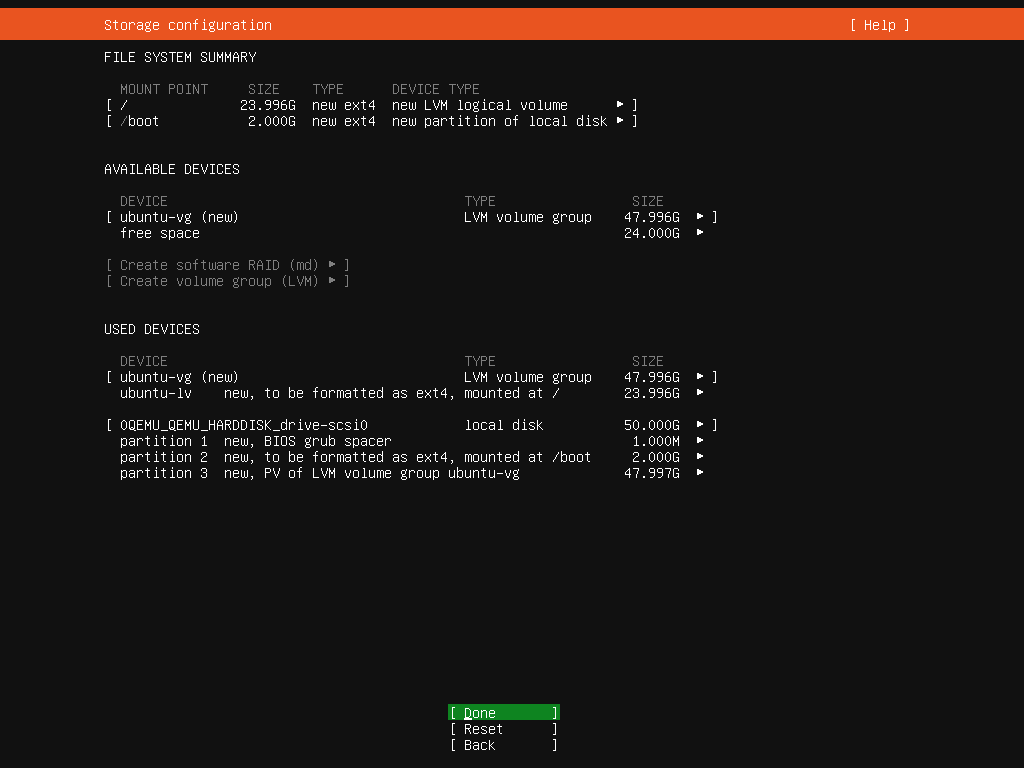
First download Ubuntu 22.04 (Jammy Jellyfish) Server 64 Bit and install it.


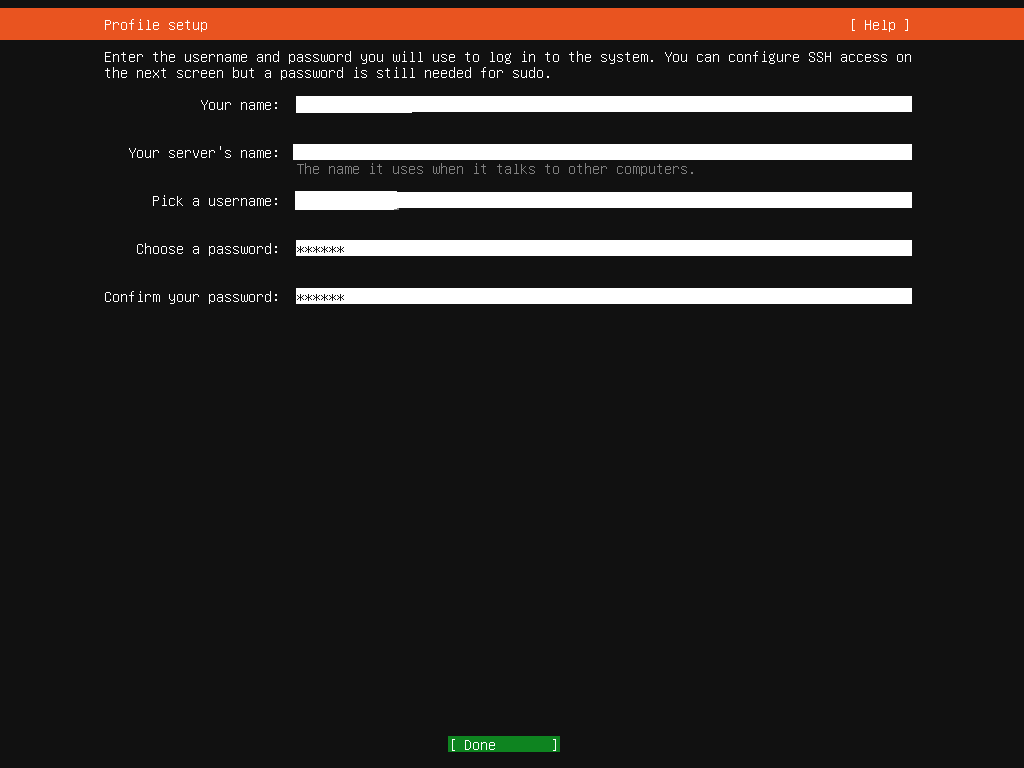

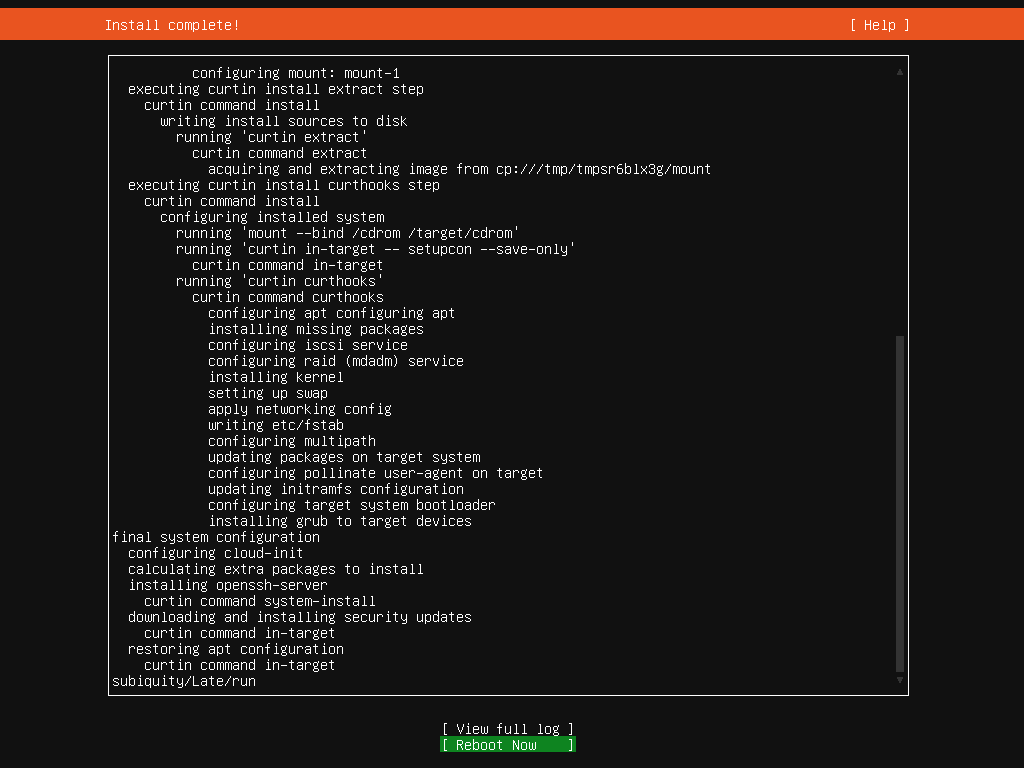
When it restarts, log in with the username and password you set.
Next step is to update Ubuntu:
sudo apt update
sudo apt full-upgrade
Some services will need to restart.
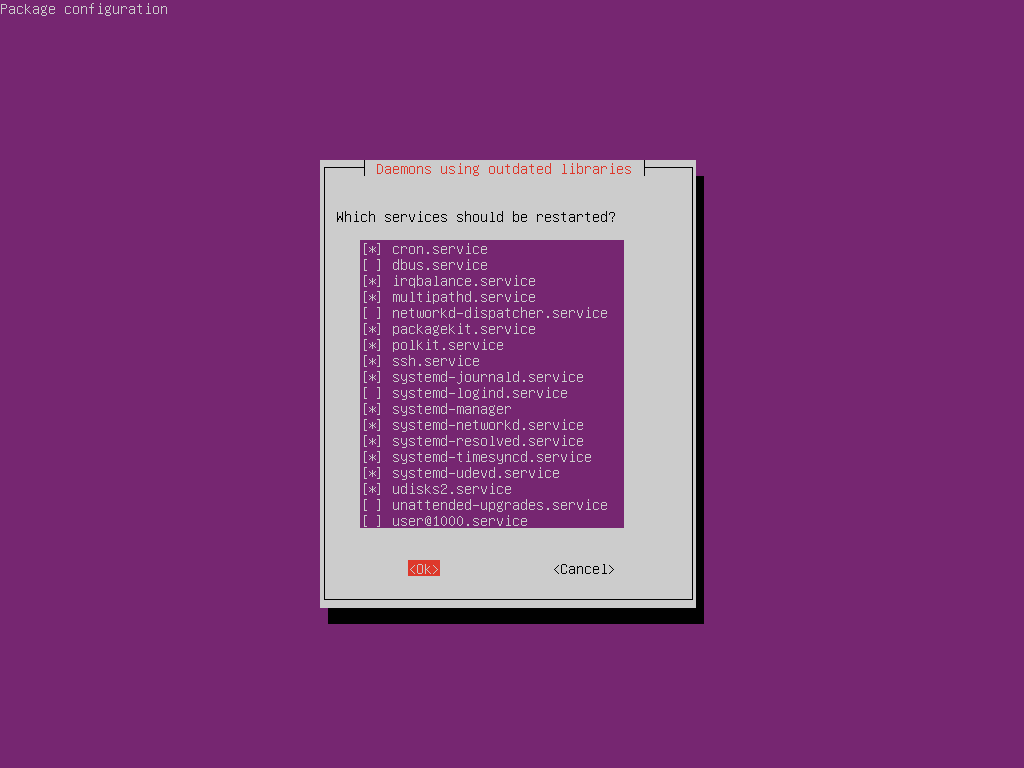
Now reboot the system again.
sudo rebootNext time we’ll add and configure any additional packages that we need for the Auvik Collector to run.
